Spring Cleaning Tips: Natural & Organic
It’s National Spring Cleaning Week! So, we thought it would be a good idea to offer up a few of our go-to natural and organic spring cleaning tips. It’s also been one whole year since Covid came into our lives and stirred everything up. I remember having a conversation with my best friend over Facetime about a week into lockdown and I said something like, “well, at least we just came into daylight savings and the weather is really nice, could you imagine being stuck at home like this during the dark winter months?”. Yikes…
Perhaps this is the reason why it feels even more exciting to be welcoming Spring in 2021. The days are getting longer again and, as the daffodils begin to pop up, there’s the hope of fresh air, sunny days, and outdoor activities ahead. Unfortunately, however, I can’t help but feel a sense of restlessness and, even though I know a lot of that has to do with a year of lockdowns and stress from, well, *gestures to everything*, it’s occurred to me that the restlessness begins with home. We’ve spent more time at home in the last year than ever before which means there’s just that much more dust and clutter and they say your mental health depends a lot on your physical environment. So, if you’ve been feeling restless, perhaps a good spring cleaning is exactly what the doctor ordered!
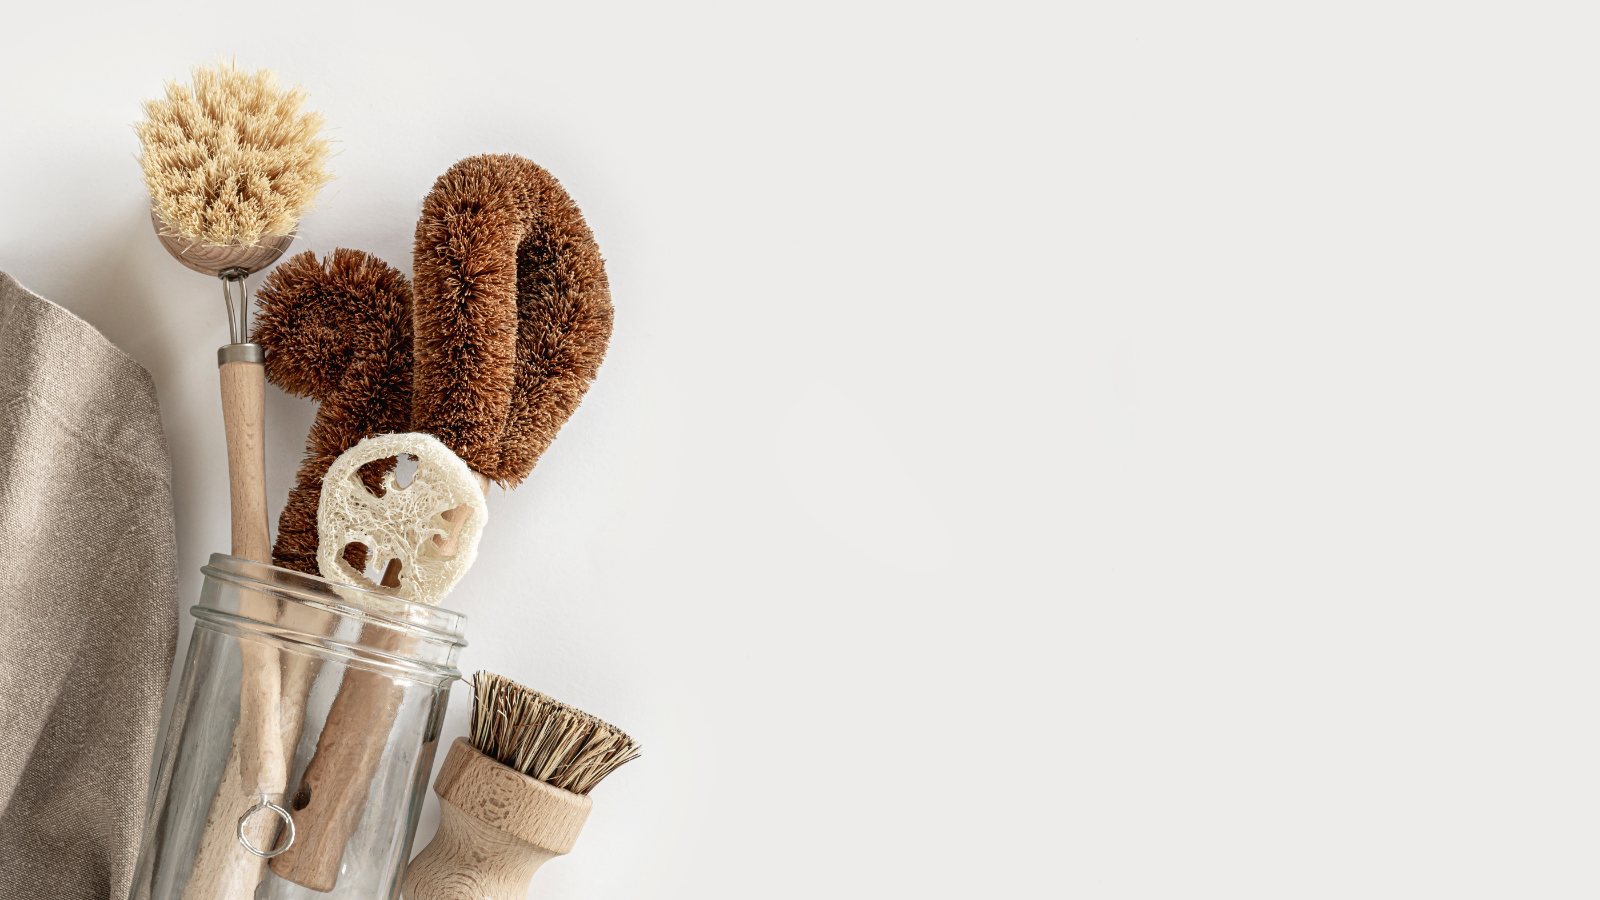
With that said, I want to share with you a list of tips and tricks to make your spring cleaning process a little bit easier on you. These tips are focused on a simple top to bottom routine and healthy, home-made formulas; healthy for children, pets and you! A lot of brands try to sell us “natural” cleaning supplies and, though some actually are natural and can work quite well, they’re often over-priced. Feel free to use whatever you’d like to clean your home but know that a lot of products could be replaced with these simple, safe, and affordable DIY options. Let’s get started!
What you’ll need:
- White Vinegar
- Essential Oils (optional – best for these tips include lemon and orange)
- Vacuum
- Rubber Gloves
- Duster
- Washcloths/Towels (microfiber and scourer)
- Baking Soda
- At least one spray bottle
- A step stool might be handy, too!
From Top to Bottom
It’s always best to work from the top-down when deep cleaning your home. This means starting with the ceilings/light fixtures and finishing with the floors. Keep this in mind as you work through your entire space. Let’s focus on some key sprucing areas, in roughly this order:
• Ceilings/Light Fixtures: Start first with a duster and dust spray. For a natural dust spray, combine 1 cup water, ¼ cup white vinegar, and 10-15 drops of lemon or orange essential oils into a spray bottle. *Optional: add 2 tsp olive oil to shine and protect any wood surfaces.
Dust the tops and bottoms of your ceiling fan blades and light fixtures, then move around the entire perimeter of your ceiling to capture all of those tiny little cobwebs and dust bunnies. Don’t forget track lighting or recessed can lights!
After you’ve worked through the ceiling and fixtures, this is the time to dust shelves, knick knacks and furniture.
• Walls: All you need to clean your walls is a simple mixture of white vinegar and water. A good mixture is 1-2 tablespoons vinegar to one gallon of warm water. Vinegar kills mildew, does not emit any harsh fumes, and it will be gentle on paint – you could even add some essential oils for a more friendly smell, but the vinegar smell should dissipate as it dries. Using this mixture, take a gentle washcloth and wipe down all the walls and light switches that you can get to. After it dries, go back through once more with a fresh washcloth, skipping the vinegar and just using some warm water to wipe up any dirt left behind in the initial wash. Note: it’s important to be sure your washcloth is damp and not soaking wet. Ring it out well so as to not leave any drips behind!
This same mixture will work great for baseboards, too! However, I recommend moving from walls to windows and then to baseboards.
• Windows, Blinds & Drapes: Before cleaning the glass, it’s a good idea to tackle the tracks and sills first. Using a duster, cloth and/or your vacuum cleaner, get all of the dust and dead bugs out of the grooves. After the dust and grime is gone, give it a quick wipe down with a warm wet washcloth. Then, you can use that same vinegar and water mixture in a spray bottle to clean the glass on your windows. Instead of paper towels, try using newspaper, coffee filters or a soft cloth instead. This will help to eliminate any streaks or fibers on your glass AND it will eliminate extra waste.
This is a great time to run a vacuum attachment over your drapes and/or give your blinds a wipe down. For an extra refresh, sprinkle a small amount of baking soda over the drapes before vacuuming. If necessary, it might be a good idea to give your drapes a run through the washing machine, on a gentle cycle. Additionally, if inclined, give those throw blankets and pillow covers a quick wash as well!
*BONUS TIP: Got pets? If you answered yes to this question then you likely have pet hair, too! If the vacuum isn’t quite cuttin’ it, grab a pair of basic rubber kitchen gloves, dampen them (just a bit) and rub your hands in little circles to collect the hair from your drapes, couch or rugs.
• Baseboards: Start by running a duster and vacuum over the baseboards. Again, using the vinegar and warm water mixture, give them a little scrub!
• Appliances: Undiluted white vinegar in a spray bottle is a great way to clean your appliances’ surfaces, especially stainless steel and especially your fridge. Using a microfiber cloth, wipe moving “with the grain” over your appliances’ texture.
Stovetops: First things first, make sure your elements are off and everything has cooled down since your last use. Now, you can make your own natural stovetop cleaning paste using baking soda and warm water! In a spray bottle, mix about half a cup of baking soda with 4 tablespoons of water. Spray on the stove’s surface and scrub with a gentle, lint-free cloth.
For electric stoves, replacing the drip pans might be a good idea. You can get them for about $10 on Amazon or a local retailer and the sizing is almost universal. If you’d rather not purchase new ones, soak them in hot soapy water for a quick refresh. If they are really grimy, try soaking them in a zipped, plastic bag with just a little ammonia and leave them overnight. The next day, you can rinse them and wipe with a microfiber cloth.
Ovens: A lot of ovens come with a self-cleaning feature. This is great, in theory, but if you’ve ever actually used the self-clean cycle, you know that it can get quite stinky, sometimes smoky, and it can take a really long time to finish up. So, I suggest skipping the self-clean cycle and, instead, opt for a quick scrub using the same baking soda and water mixture mentioned in the stovetop section above.
• Bathroom Fixtures: For those stubborn hard water stains and unwanted toilet odors, sprinkle about ½ cup baking soda with 1 cup white vinegar into the bowl. Let this combo fizz for a bit and then scrub with a toilet brush. Flush and voila!
*BONUS TIP: This is a great way to unclog your toilet, too, if you ever have the need!
• Finally, Floors: Use your vacuum attachments to get deep into the nooks and crannies of your floorboards and then vacuum the entire surface area of your floors. If you don’t have a vacuum that can perform well on hard floors, a broom will suffice, of course – it just might take a little bit longer! After sweeping/vacuuming, give any hard surfaces a nice mopping. A good natural mopping solution is ¼ cup white vinegar, 1 tablespoon liquid dish soap, ¼ cup baking soda and 2 gallons of very warm tap water in a bucket. Mix until sudsy.
Don’t forget about rugs! If you can, give your bath mats a run through the washing machine and spot clean carpet and/or stationary rugs.
*BONUS SPOT-CLEANING TIP: My go-to, at home spot cleaning solution is 1 tablespoon white vinegar, 1 teaspoon dish soap, 1 cup warm water and 1 teaspoon baking soda. Mix in a spray bottle, spray onto the affected area and dab with a towel. Try not to scrub too much; consistent dabbing and patience is all you need! As with any cleaner (natural or otherwise), always be sure to test a small spot in an unsuspecting corner (perhaps a closet) – Just to be absolutely sure there are no adverse reactions!
Whew!
You did it! Light a candle, grab a cup of tea and kick those feet up. You deserve it!
Let us know what you think in the comments. We’d love to hear all about your own favorite DIY spring cleaning solutions! If you’re looking for more spring cleaning inspiration, visit our Pinterest board! If you’re considering a complete refresh or remodel, you can view our profile for some inspiration and give us a call if you would like more information!
Author: Holly Campbell, Marketing Director
Share This Post
Other articles you might like
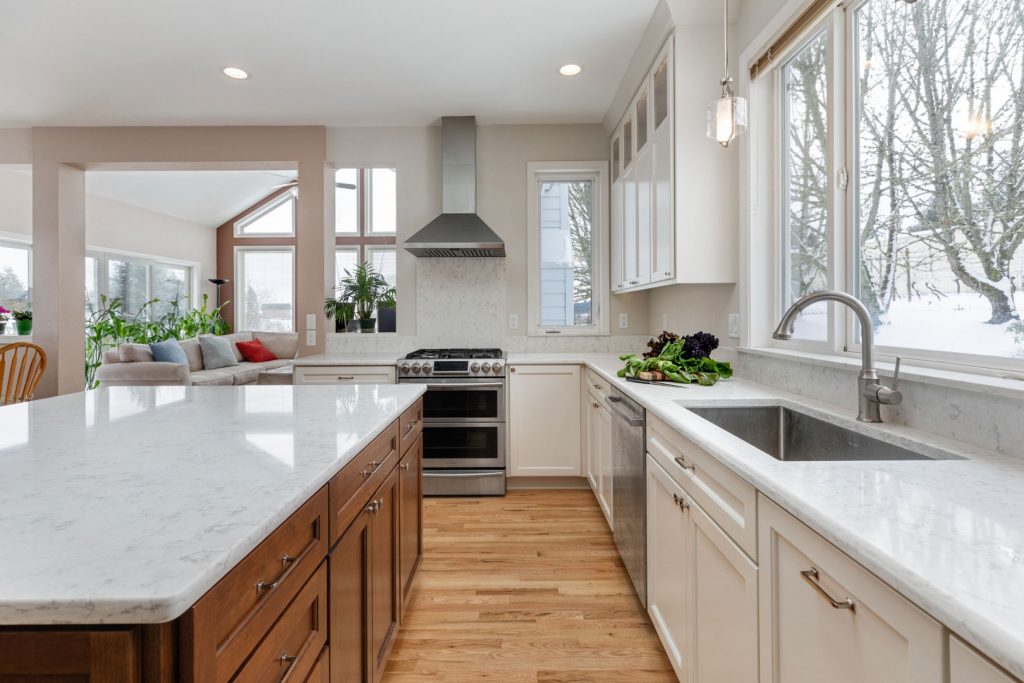
How to Refresh Your Kitchen
Are you looking to refresh your kitchen but not sure about committing to a full remodel? These tips are sure to give you some inspiration

6 Tips for Improving Your Home’s Energy Efficiency
We all know the importance of energy efficiency, but how to even begin? The first thing you should do is gauge your home’s energy efficiency